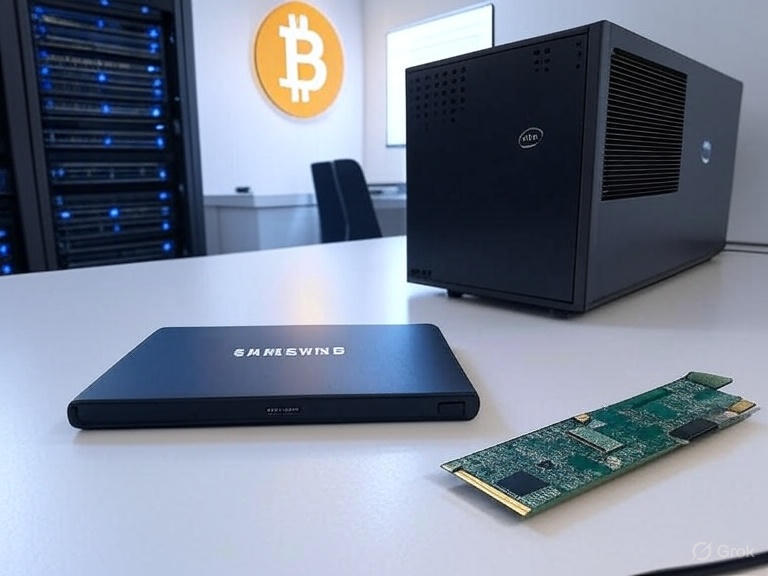
Running a full Bitcoin node with txindex=1 on UmbrelOS is rewarding, but it can quickly eat up storage. My 1TB external SSD hit 100% capacity, causing Bitcoin Core to crash with “No space left on device” errors. To keep my archival node running without pruning, I upgraded to a 2TB SSD while preserving all blockchain data. Here’s how I migrated everything seamlessly, step by step.
Why Upgrade?
As of October 2025, the Bitcoin blockchain is ~640–660 GB for raw blocks, but with txindex=1, chainstate, and other data, my node consumed ~885 GB. A 1TB drive was no longer enough. Upgrading to a 2TB SSD gave me room to grow while keeping all my data intact.
What You’ll Need
- Old SSD: Your current external drive (e.g., 1TB, mounted at
/mnt/umbrel-ssd). - New SSD: A larger drive (e.g., 2TB, like a Samsung Evo 2.5” SATA in a USB 3.0 enclosure).
- Umbrel node: Running UmbrelOS, stopped (
sudo systemctl stop umbrel). - Basic Linux skills: Familiarity with commands like
lsblk,nano, andrsync.
Step-by-Step Migration
1. Stop Umbrel
Ensure Umbrel is stopped to prevent data corruption during the copy:
sudo systemctl stop umbrel
2. Verify the New SSD
Plug in your new SSD and check if it’s detected:
lsblk -o NAME,SIZE,FSTYPE,MOUNTPOINT
Look for a ~1.8T drive (e.g., /dev/sdc) with no mountpoint. If it’s not listed, check dmesg | tail -n 20 for USB detection issues.
3. Partition and Format the New SSD
If your UmbrelOS lacks parted, install it:
sudo apt-get update
sudo apt-get install parted
Partition the new SSD (replace /dev/sdc with your drive’s name from lsblk):
sudo parted /dev/sdc
In parted:
mklabel gpt
mkpart primary ext4 0% 100%
quit
Format the partition:
sudo mkfs.ext4 -L umbrel-ssd /dev/sdc1
4. Copy Data to the New SSD
Mount the new SSD:
sudo mkdir /mnt/umbrel-ssd-new
sudo mount /dev/sdc1 /mnt/umbrel-ssd-new
Copy all data from the old SSD to the new one (~885 GB may take 1–3 hours):
sudo rsync -avh --progress /mnt/umbrel-ssd/ /mnt/umbrel-ssd-new/
Verify the copy:
sudo du -sh /mnt/umbrel-ssd/*
sudo du -sh /mnt/umbrel-ssd-new/*
Ensure sizes match (~885G for the umbrel directory).
5. Swap the Drives
Unmount both drives:
sudo umount /mnt/umbrel-ssd
sudo umount /mnt/umbrel-ssd-new
Mount the new SSD to the original path:
sudo mount /dev/sdc1 /mnt/umbrel-ssd
Verify:
df -h | grep umbrel
You should see ~1.8T total, ~885G used.
6. Update /etc/fstab
Get the new SSD’s UUID:
sudo blkid /dev/sdc1
Edit /etc/fstab:
sudo nano /etc/fstab
Add or replace the line for /mnt/umbrel-ssd with:
UUID=your-uuid-here /mnt/umbrel-ssd ext4 defaults 0 2
Test the configuration:
sudo mount -a
If no errors, it’s set to mount automatically on boot.
7. Start Umbrel
Restart Umbrel:
sudo systemctl start umbrel
Monitor Bitcoin Core logs:
tail -f /mnt/umbrel-ssd/umbrel/app-data/bitcoin/data/bitcoin/debug.log
Look for normal sync activity (no disk space errors). Check the Umbrel dashboard in your browser to confirm everything’s running.
Post-Migration
Your node should now run on the 2TB SSD with ~855 GB free, ready for future blockchain growth. You can safely unplug the old 1TB SSD or wipe it for reuse:
sudo wipefs -a /dev/sdb
Tips
- Backup fstab: Before editing, copy it (
sudo cp /etc/fstab /etc/fstab.bak). - Check logs: If Umbrel doesn’t start, use
sudo systemctl status umbrelor check logs for errors. - USB 3.0: Ensure your enclosure and port support USB 3.0 for faster transfers.
This migration kept my node running without resyncing, saving days of downtime. With the extra space, I’m set for years of Bitcoin and Lightning transactions. Happy nodding!
